Workspace and Package Building
In the previous sections, we have installed the openEuler system and the complete version of ROS 2 Humble.
This section describes how to create your own workspace to build code and test the communication between topics and services between nodes.
Creating a Workspace
A ROS workspace is a directory with a specific structure, which is used to store and manage all the materials involved in the development of robot code. A workspace usually contains a src subdirectory, which stores the source code of ROS software packages. The source code can be the open-source code that you have downloaded or the code that you have developed.
Open the terminal and run the following commands to create a workspace named "ros2_ws" and its src subdirectory:
mkdir -p ~/ros2_ws/srcAt this time, the src directory is empty. Download the code from the ros_arm_tutorials repository to the src directory as the sample source code for subsequent node communication tests.
cd ~/ros2_ws/src
git clone -b ros2-humble https://gitee.com/xiao_yun_wang/ros_arm_tutorials.git
After the download is complete, you can install the tree tool to view the directory structure in the workspace.
 dnf install tree
 tree -L 3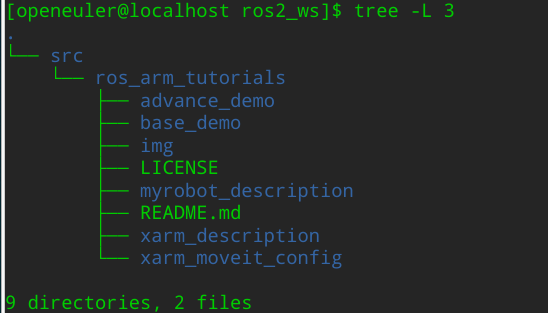
The code of the ros2-humble branch of ros_arm_tutorials contains the following five packages:
| Package (Software Package) | Content |
|---|---|
| base_demo | Custom messages and services, topic publishing/subscription node, service server/client node, and parameter operation example node |
| advance_demo | Action definition and server/client node, common ROS tools, dynamic parameter configuration node, TF2 example node, and RVIZ marker publishing and display |
| myrobot_description | URDF model of the three-degree-of-freedom robotic arm and mobile robot |
| xarm_description | URDF model file package of the XBot-Arm |
| xarm_moveit_config | MoveIt! configuration and launch package for the XBot-Arm, generated using the setup assistant |
For more information, see the original repository.
Building Packages
ROS 2 uses the colcon build tool to build source code. For more information, see the design document.
By default, colcon creates the following directories as the same level as the src directory:
build: stores intermediate files.
install: installation directory of each software package. By default, each software package is installed in a separate subdirectory.
log: contains various log information about each colcon invocation.
Since build types like ament_cmake do not support the concept of a development space, and the software package needs to be installed, colcon supports the --symlink-install option. This allows you to change the installed files by changing the files in the source space (such as Python files or other non-compiled resources), thus speeding up iteration.
Install colcon.
pip3 install -U pytest colcon-common-extensionsIn the root directory of the workspace, use the colcon build function to build the package.
cd ~/ros2_ws/
colcon build --symlink-install
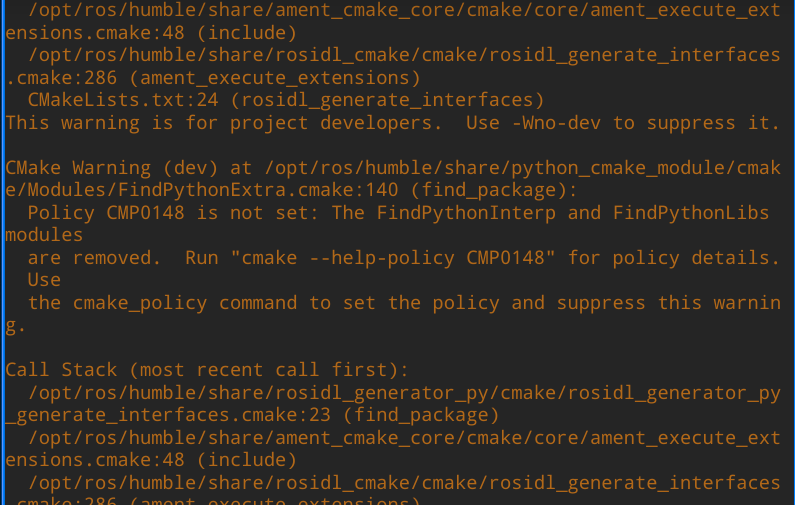
During the build process, some warnings may be displayed due to reasons such as inconsistent CMake versions. You can ignore them.
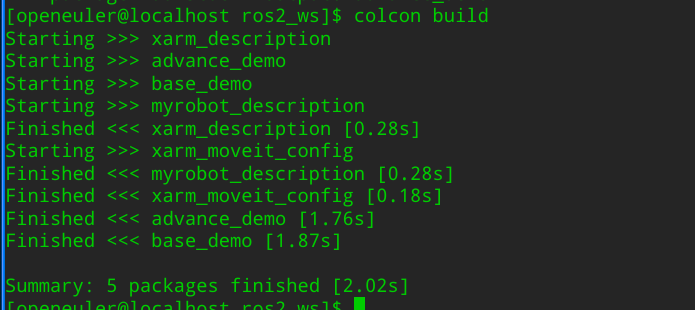
After the build is complete, a message is displayed, indicating that five software packages have been built.
Setting the Environment
Run the source ~/ros2_ws/install/setup.bash command to set the environment, or run the following command to add the environment to the.bashrc file:
echo "source ~/ros2_ws/install/setup.bash" >> ~/.bashrc
source ~/.bashrc
Testing the Topic Communication Node
Based on the distributed design, ROS 2 divides a complex system into many modular nodes (processes) that implement different functions. Data is transmitted between different nodes through messages. Topic communication is an asynchronous communication mechanism based on the publish-subscribe pattern. The base_demo package provides the example code node for topic communication. Each node provides the implementation of Python and C++ programming modes.
Open a terminal and run the following command to start the Python or C++ node of the topic publisher:
ros2 run base_demo topic_pub.pyor
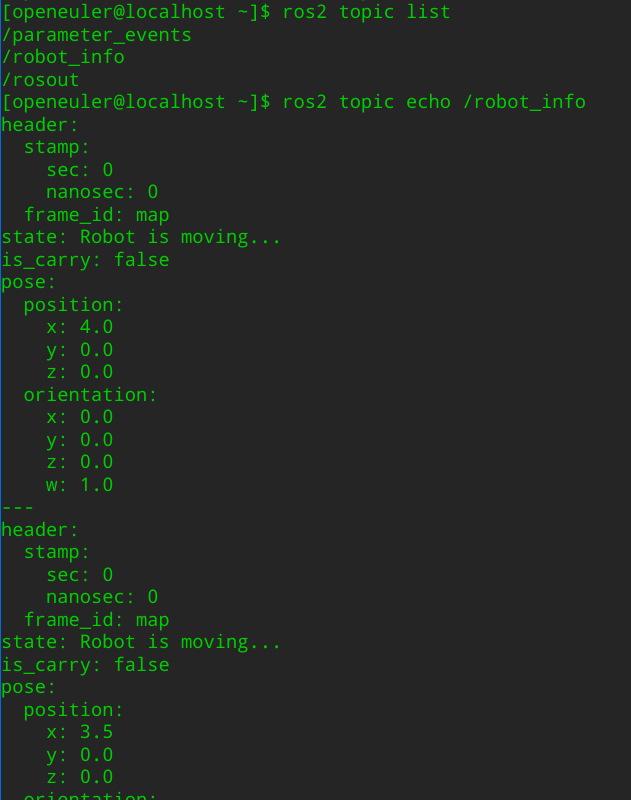
ros2 run base_demo topic_pubOpen a new terminal and run the ros2 topic list command to view the current topic list. In the list, /robot_info is the topic published by the node.
Run the ros2 topic echo /robot_info command to view the messages received by the topic.
Open a new terminal and run the following command to start the Python node of the topic subscriber:
ros2 run base_demo topic_sub.pyAlternatively, start the C++ node:
ros2 run base_demo topic_subAfter the node is started, it receives topic messages, processes the message data, and publishes the data to the terminal for display.
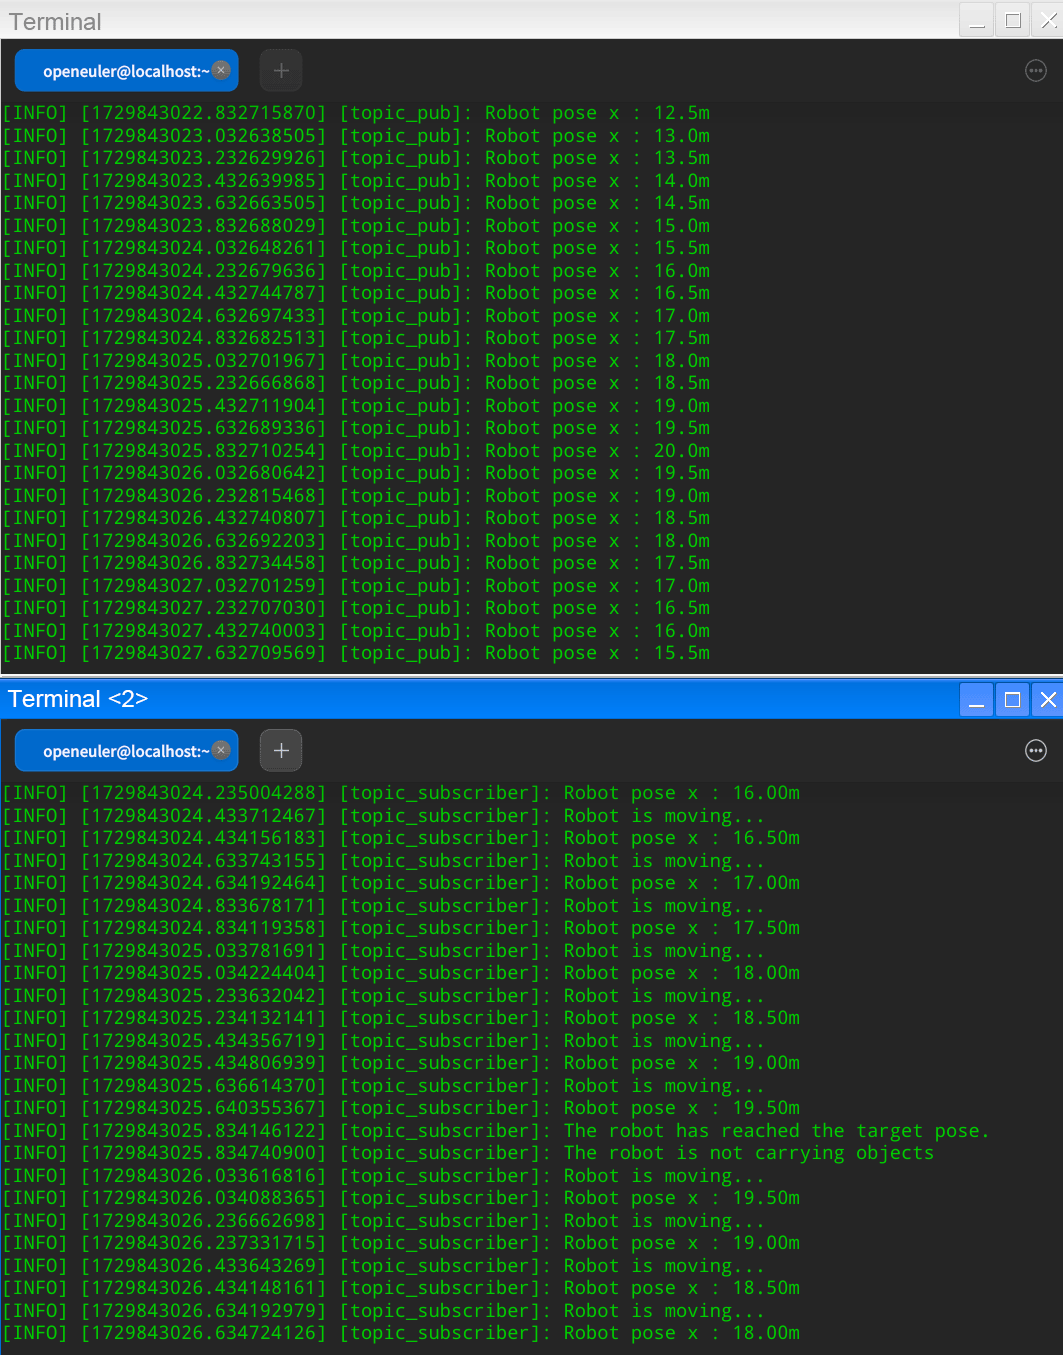
Testing the Service Communication Node
Service communication is a synchronous communication mode based on the request/response model. The base_demo function package provides the sample code node for service communication. Each node provides the implementation of Python and C++ programming modes.
Open a terminal and run the following command to start the Python node of the service server:
ros2 run base_demo service_server.pyAlternatively, start the C++ node:
ros2 run base_demo service_serverOpen a new terminal and run the following command to start the Python node of the service client:
ros2 run base_demo service_client.pyAlternatively, start the C++ node:
ros2 run base_demo service_clientAfter the client node is started, it sends a request to the user-defined service in the code. After receiving the request, the server processes the request and displays the message "Target object is box" and "find box and response" on the terminal, and returns the response.
After receiving the response, the client node displays the corresponding information on the terminal.
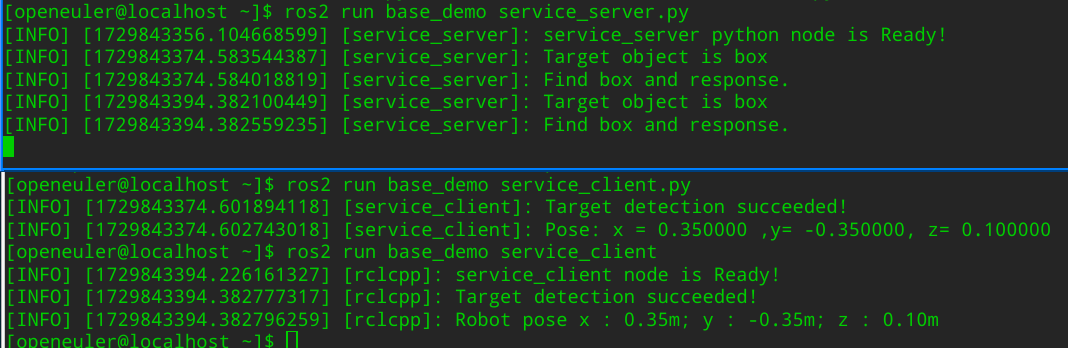
Note: This section describes how to create a workspace and build a code package. For details about how to compile the source code, see the following reference.
You can refer to this tutorial to compile and build your own ROS programs on openEuler.
References
Licensed under the MulanPSL2
 J.G.W.A.B. No. 11030102011597